This guide will walk through the steps to install Oracle Database Express Edition 11g Release 2 and SQL
Developer on Windows 10.
Downloading the database
Download it from this
link.
You have to create an oracle account as well. You will get a zip file. If you choose 64 bit version, we will get
OracleXE112_Win64.zip. Unzip the file which will create the main folder DISK1, it contains the installer. Go there
and execute setup.exe. Follow theses steps:
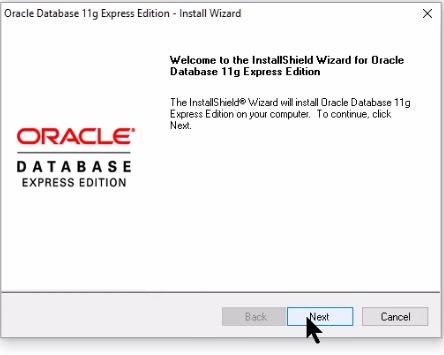
(1) Welcome screen. click next.
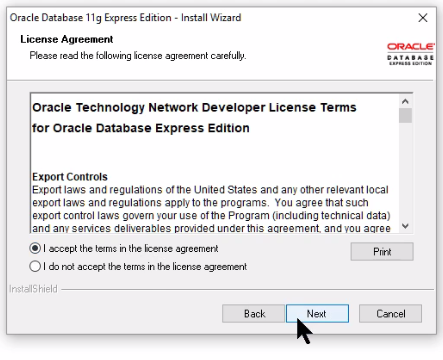
(2) License Agreement. If you are OK with the terms then select 'I accept ...'.
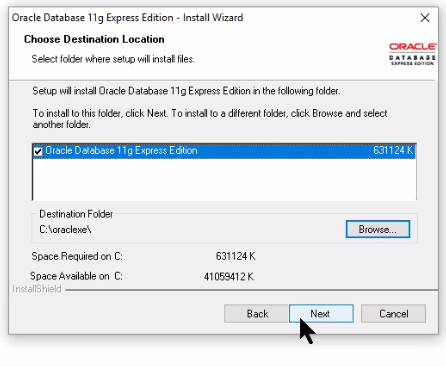
(3) It will choose the installation location. By default, it is "C:\oraclexe". You can change it if you want to.
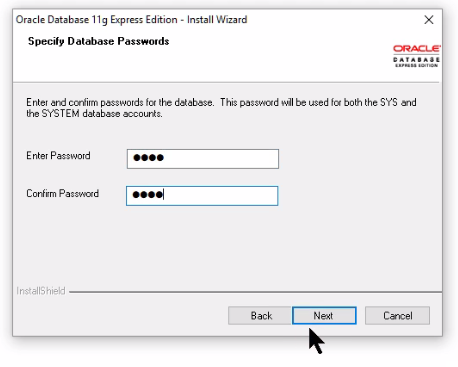
(4) Now enter an easy to remember password. It will create the account for the user 'SYSTEM'.
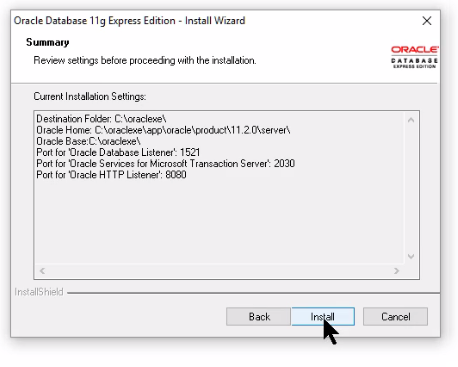
(5) Summary. If you want to change something click 'Back' otherwise 'Install'.
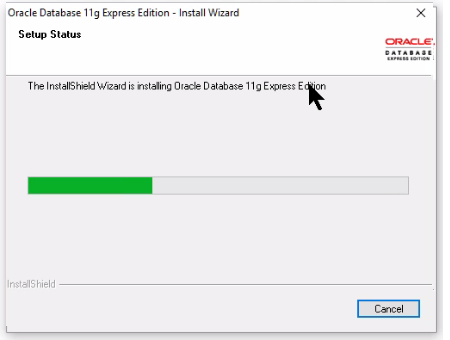
(6) Installation in progress. It will take some time.
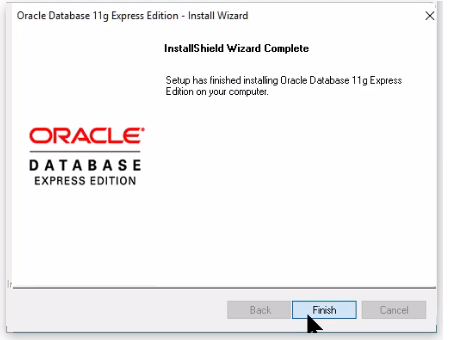
(7) Installation ends, click on 'Finish'.
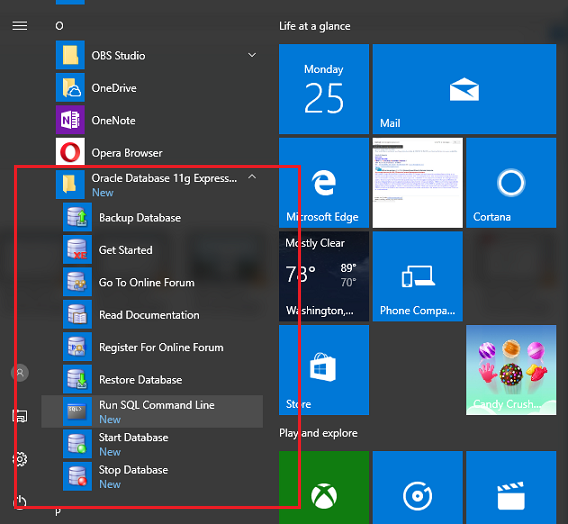
(8) Go to the Windows Start menu and look for 'Oracle Database 11g Express':
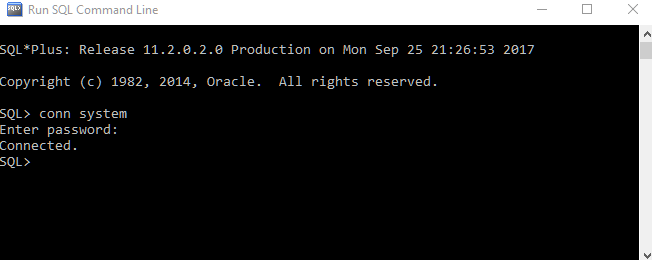
(9) The installation process above should have started the server already. Let's verify that. From above 'start menu' click on 'Run SQL Command Line' and use 'conn' command to connect the database. We are going to connect as user 'system' (enter the same password you chose during the installation process): We have successfully connected.
Downloading SQL Developer
Visit the download page
and from the download list select the one which does not include JRE ('Windows 32-bit/64-bit').
You will get sqldeveloper-<version-no>-no-jre.zip.
Extract it to a permanent location as the content is not an installer but SQL Developer executable program. Follow
these steps:
(1) Now go to the root folder where you extracted the zip and run sqldeveloper.exe
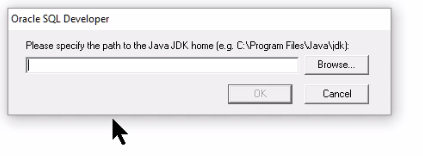
(2) Select the JDK location:
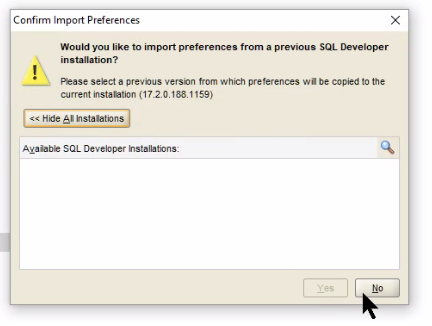
(3) Select 'no' in the following, if you don't have previously saved preferences to import:
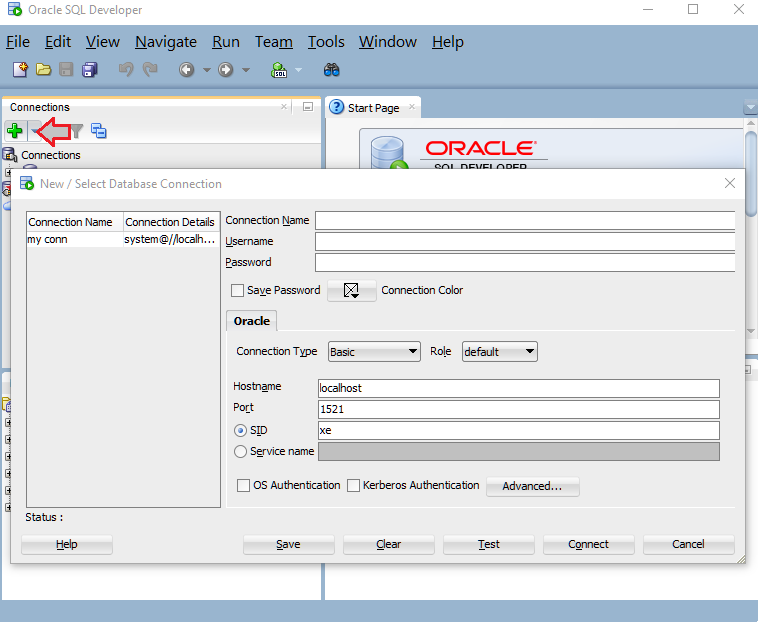
(4) SQL Developer will show up:
(5) Creating Connection. In the 'Connections' section, click on the green plus icon and create a new connection. Enter any connection name, I entered 'my conn'. Also enter Username as 'system' and the same password. Click on 'Save' and then 'Connect' buttons.
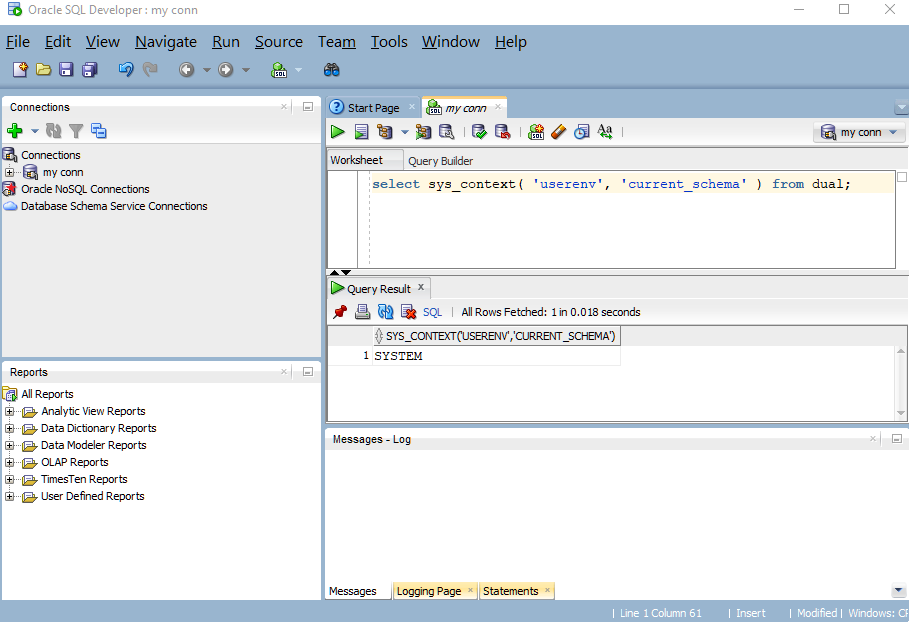
(6) Now a new tab named 'my conn' will open up which can be used to run SQL queries. Let's check the default schema by entering the following statement.
select sys_context( 'userenv', 'current_schema' ) from dual;
Connecting via JDBC
If you want to connect the database in Java then you can use following connection url:
 We have successfully connected.